In this blogpost I'll be sharing my journey of learning Total.js and implementing a simple authentication mechanism in a web application. Over the past week, I've delved into the Total.js framework, exploring its features and capabilities. One of the key aspects I focused on was building a basic application that includes user authentication.
Total.js is a powerful Node.js framework that provides a comprehensive set of tools for building web applications. It emphasizes simplicity, speed, and modularity, making it an excellent choice for both beginners and experienced developers.
In this blog post, I'll walk you through the process of setting up a Total.js application, creating routes and controllers, implementing authentication using cookies, and configuring views for the frontend. By the end of this journey, you'll have a better understanding of how Total.js works and how to build secure web applications with it.
So, without further ado, let's dive into the exciting world of Total.js!
Before diving into building our application, we need to set up Total.js and prepare our development environment. Here are the steps to get started:
First, we need to create a Total.js project You can do this by using npm (Node Package Manager). Open your terminal and run the following command:
Next, let's install a Total.js project. Navigate to your desired project directory in the terminal and run the following command:
This command will prompt you to provide some basic information about your project, such as the project name and description. Once you've provided the necessary information, Total.js will create the project structure for you.
After initialization, your project directory should contain the following structure:
The controllers directory is where we'll define our route handlers, the definitions directory is where we'll define authentication and authorization logic, and the views directory is where we'll store our HTML templates.
The start script is index.js
To start the Total.js server, run the following in the terminal:
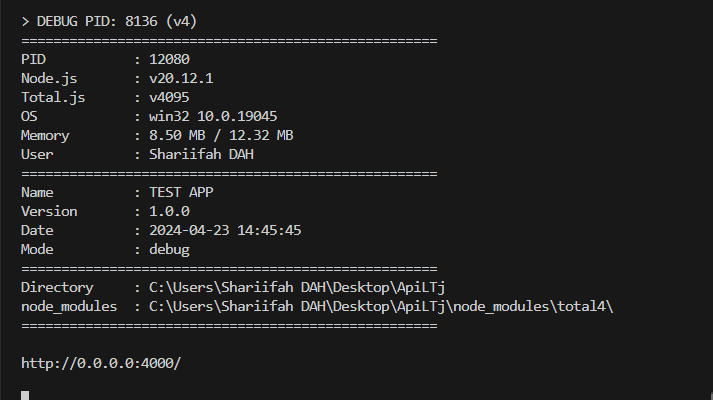
This will start the server, and you should see a message indicating that the server is running.

Now that we've set up Total.js, we're ready to start building our application!
Now that we have our Total.js project set up, let's start defining routes and controllers to handle external request. In Total.js, routes are defined in the controllers directory, and each route is associated with a controller function.
Open the controllers/default.js file in your project directory. Here, we'll define routes for our login, home page, submission, and logout functionalities using the ROUTE function provided by Total.js.
Next, let's implement the controller functions for each route. These functions will contain the logic for rendering views, handling form submissions, and managing user sessions.
But the first all let's define the parameters related to the cookies to authentication such as cookie name, and cookie secret.
In these functions, we're rendering views using self.view, handling form submissions, and managing user sessions using cookies.
With routes and controllers in place, our Total.js application is now capable of handling different user actions and rendering appropriate views.
Authentication is a crucial aspect of web applications to ensure that only authorized users can access certain functionalities. In our Total.js application, we'll implement a simple authentication mechanism using cookies.
We'll start by defining the authentication logic in a separate file, typically named auth.js within the definitions directory. This logic will check for a valid token in the user's cookie and grant access based on that token.
In your project's configuration file (typically named config), define parameters related to authentication such as the token.
Views play a crucial role in presenting the user interface of our web application. In Total.js, views are typically HTML templates that are rendered dynamically based on the routes and controller logic.
We'll start by creating a layout template that serves as the foundation for our application's UI. This layout will include common elements such as headers, navigation menus, and footers.
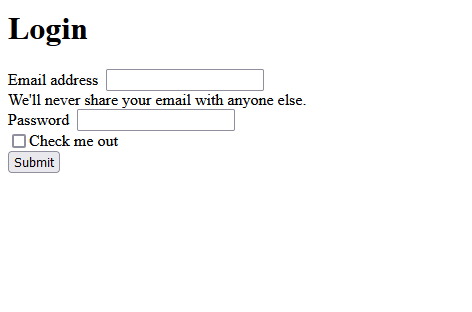
Now, we'll create individual views for different pages of our application, such as the home page and login page.

Finally, render the views within the controller functions using the self.view method.
With these steps, we've configured the views for our Total.js application, providing a structured and visually appealing user interface.
In this blog post, we've explored the basics of building a web application with Total.js, focusing on implementing user authentication and configuring views. Throughout this journey, we've covered several key aspects:
By following these steps, we've built a solid foundation for our Total.js application, laying the groundwork for further development and expansion. Total.js offers a powerful yet straightforward framework for building web applications, making it an excellent choice for developers of all levels.
As you continue your journey with Total.js, don't hesitate to explore its extensive documentation and community resources to unlock even more possibilities for your projects.