In this post I'll show you how you can easily start to develop in Total.js Flow. You have two ways, I prefer cloud solutions, but it's individual preference and you can take local version of development.
What is Total.js Flow? Flow as we called it, is a visual programming interface for an innumerable quantity of cases. IoT, REST API's, Data transformation, etc. Flow is an alternative to Node-Red and ready for Industry 4.0.
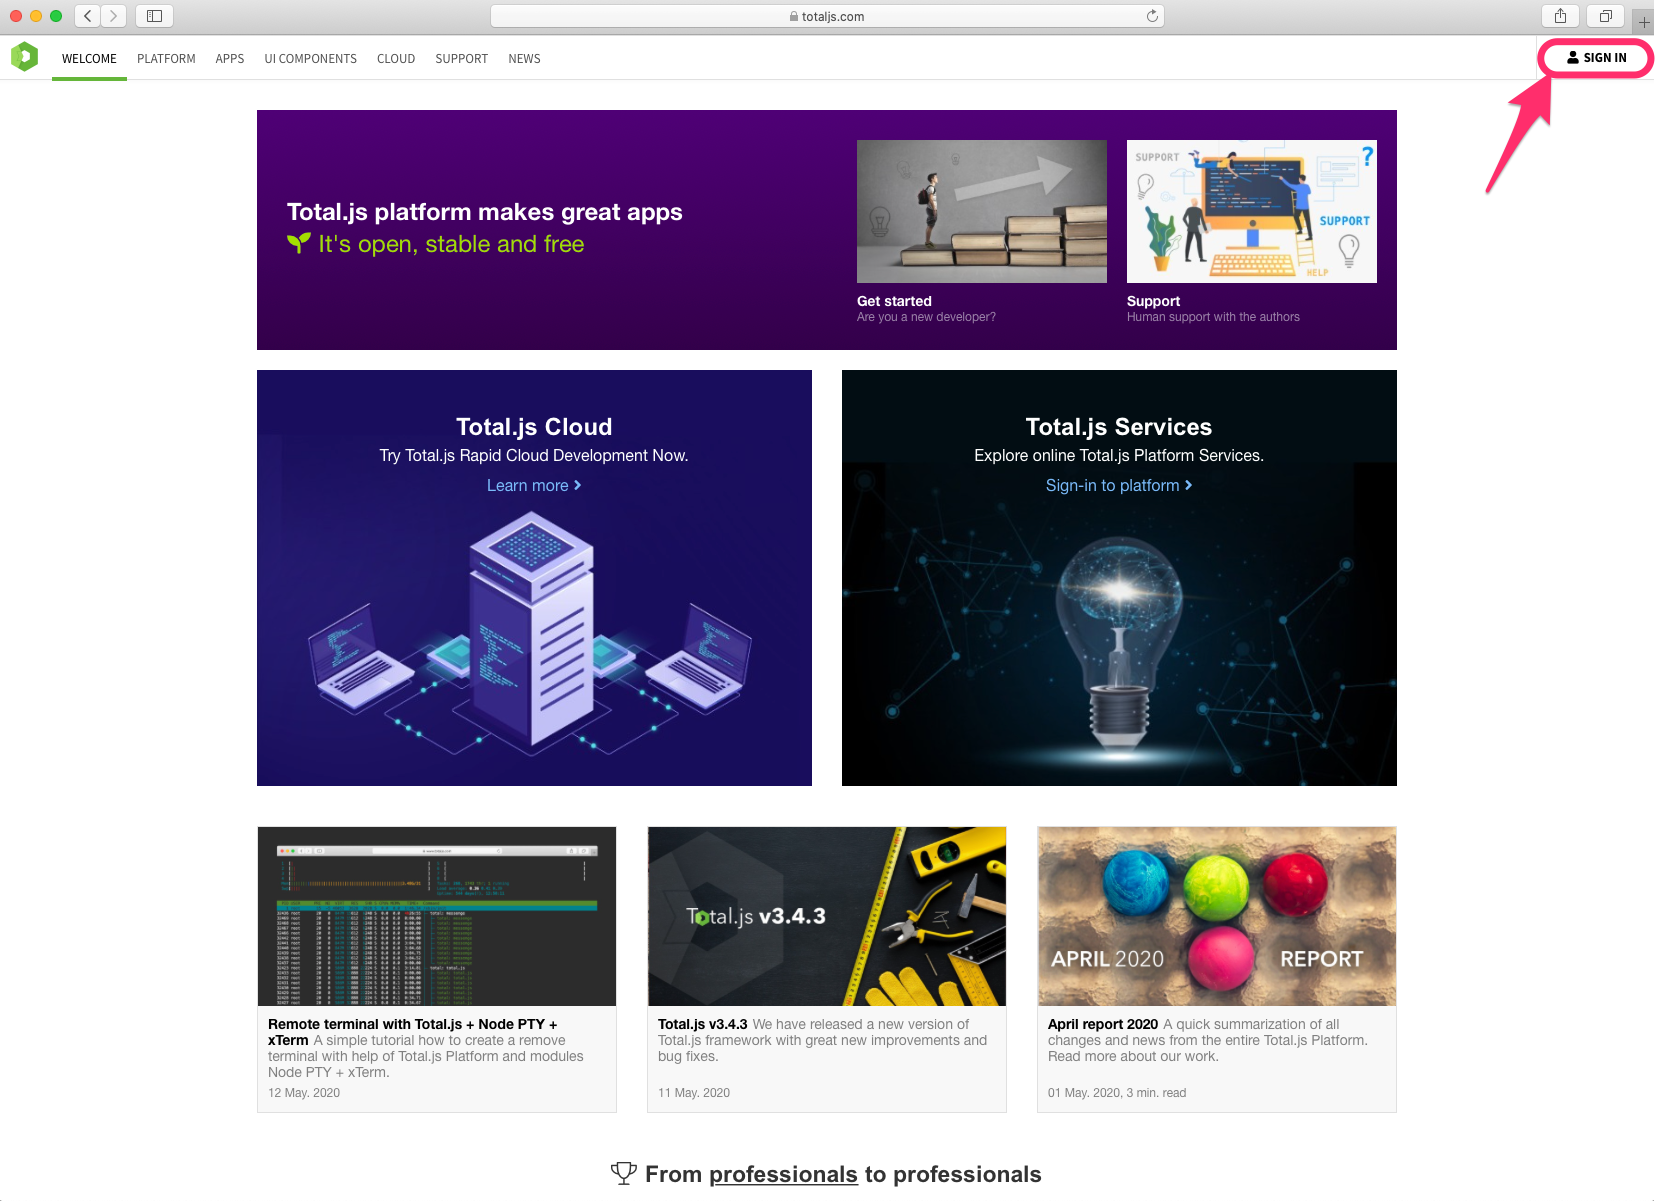
Before we start creating a Flow instance, we need to create a Total.js Platform account. Go to totaljs.com website and click on Sign-in. If you don't have an account, please register first.
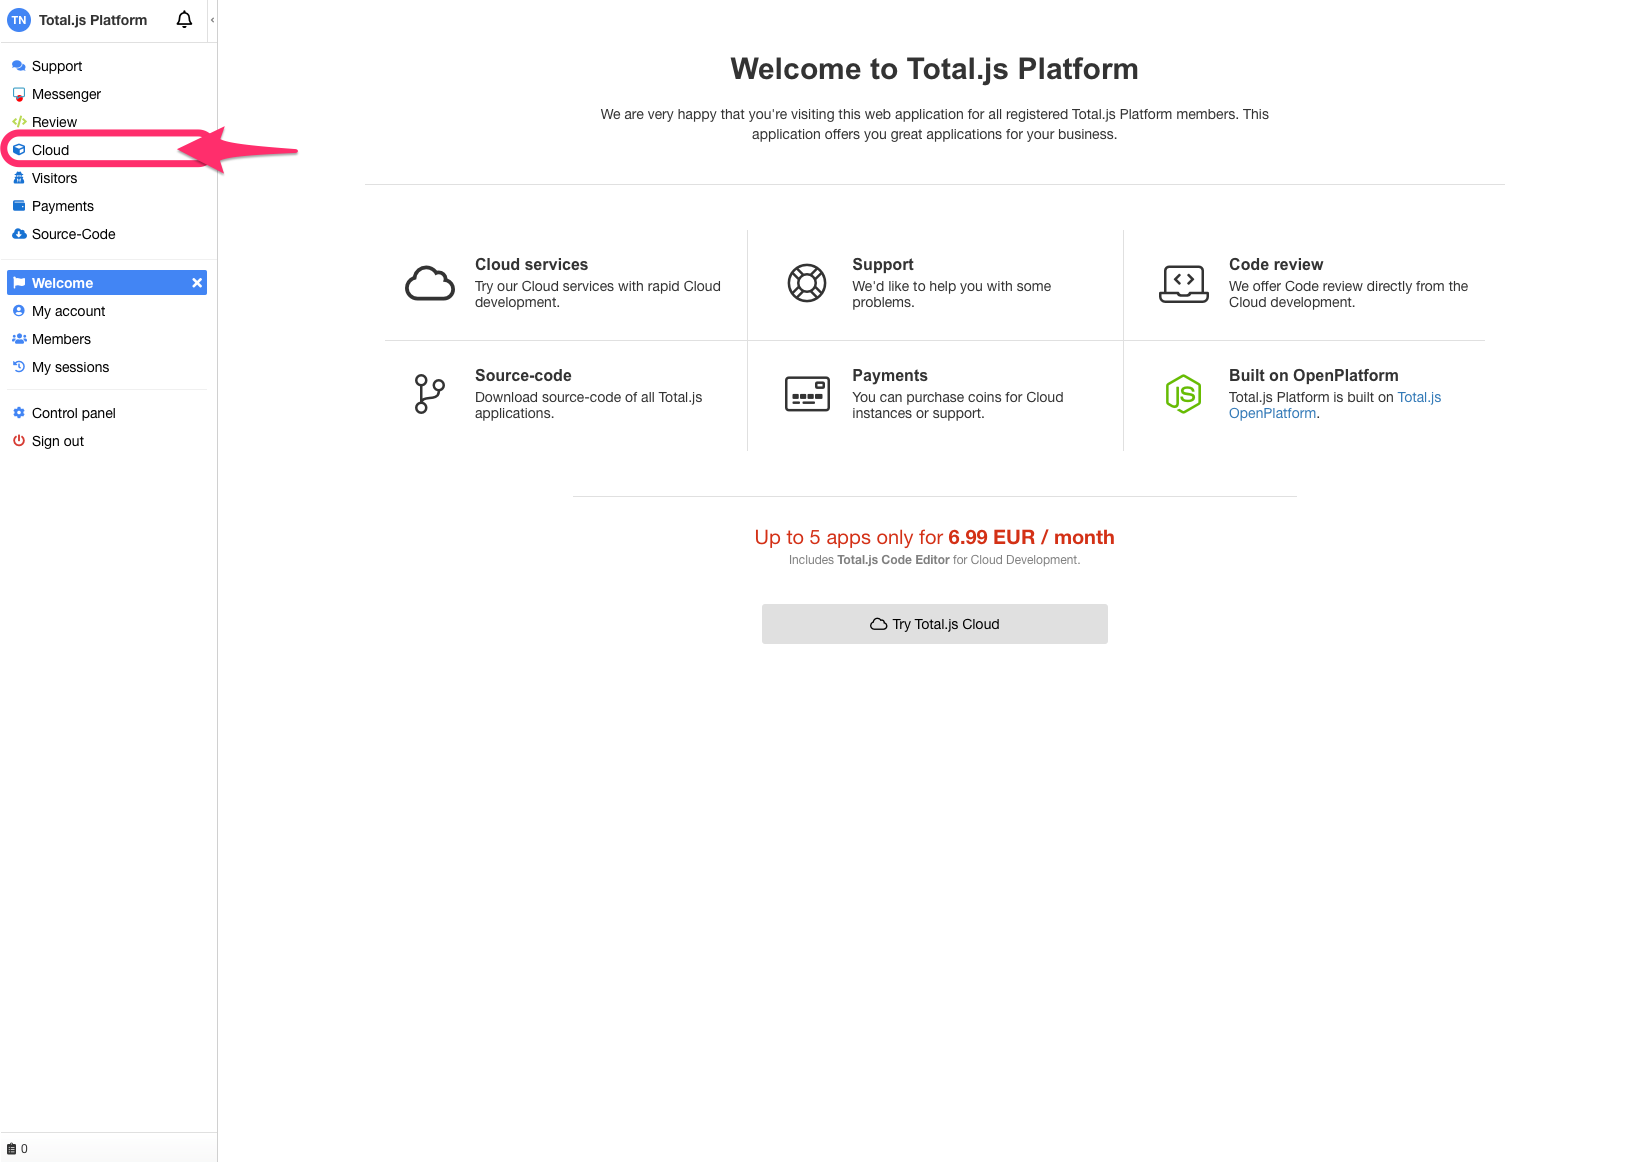
Perfect! You are now inside our Total.js Platform. Here you can order services, write to contributors, buy credit, download source-code or start your own private instances in Total.js Cloud. You should now see the screen as shown below. Please click on Cloud in menu.
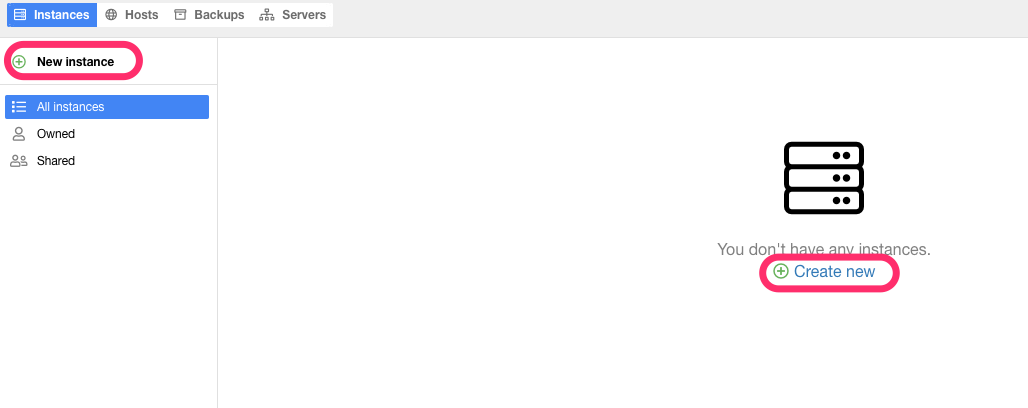
Great! Now you are in Total.js Cloud control panel. Next, click on New Instance to start your first private instance.
Now you will see a form with server locations and plans. Choose your preferred location, select Free plan and accept our Terms & Conditions.
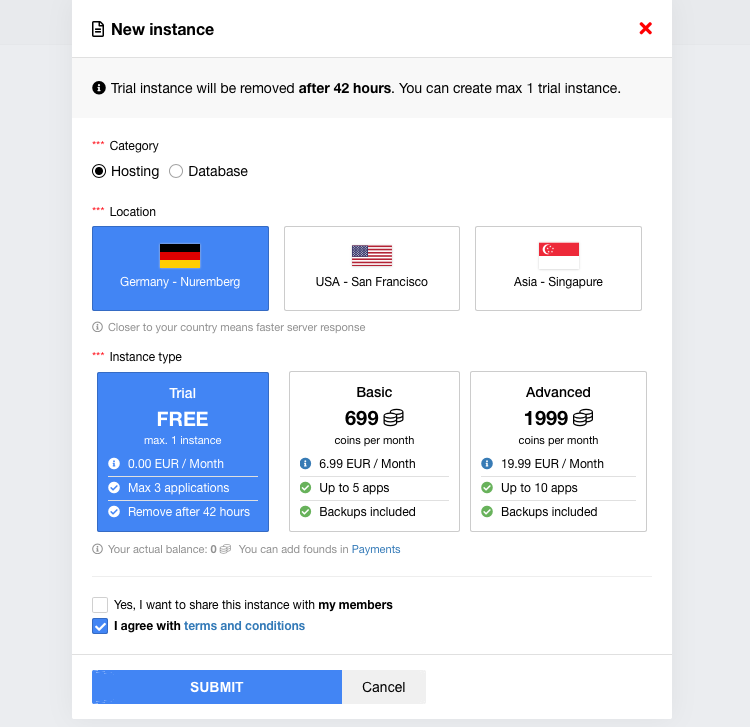
Success! Your private instance is now published. Click on your instance to expand information about your instance.

Click on Add application.

Last step! Select 'Flow' from the application list and click on 'Submit' to publish your Total.js Flow instance.
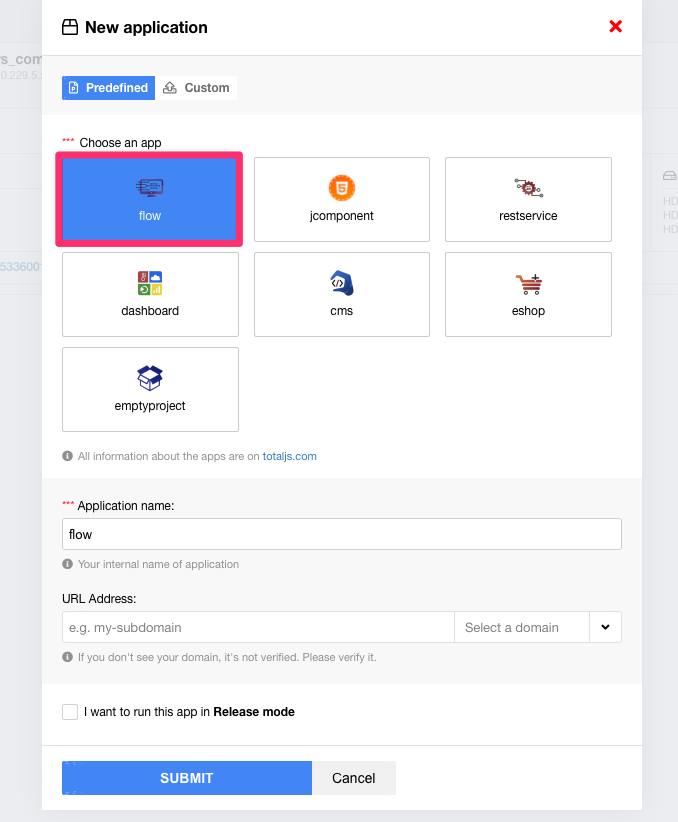
Your Total.js Flow application is ready. Click on the link in your application list.

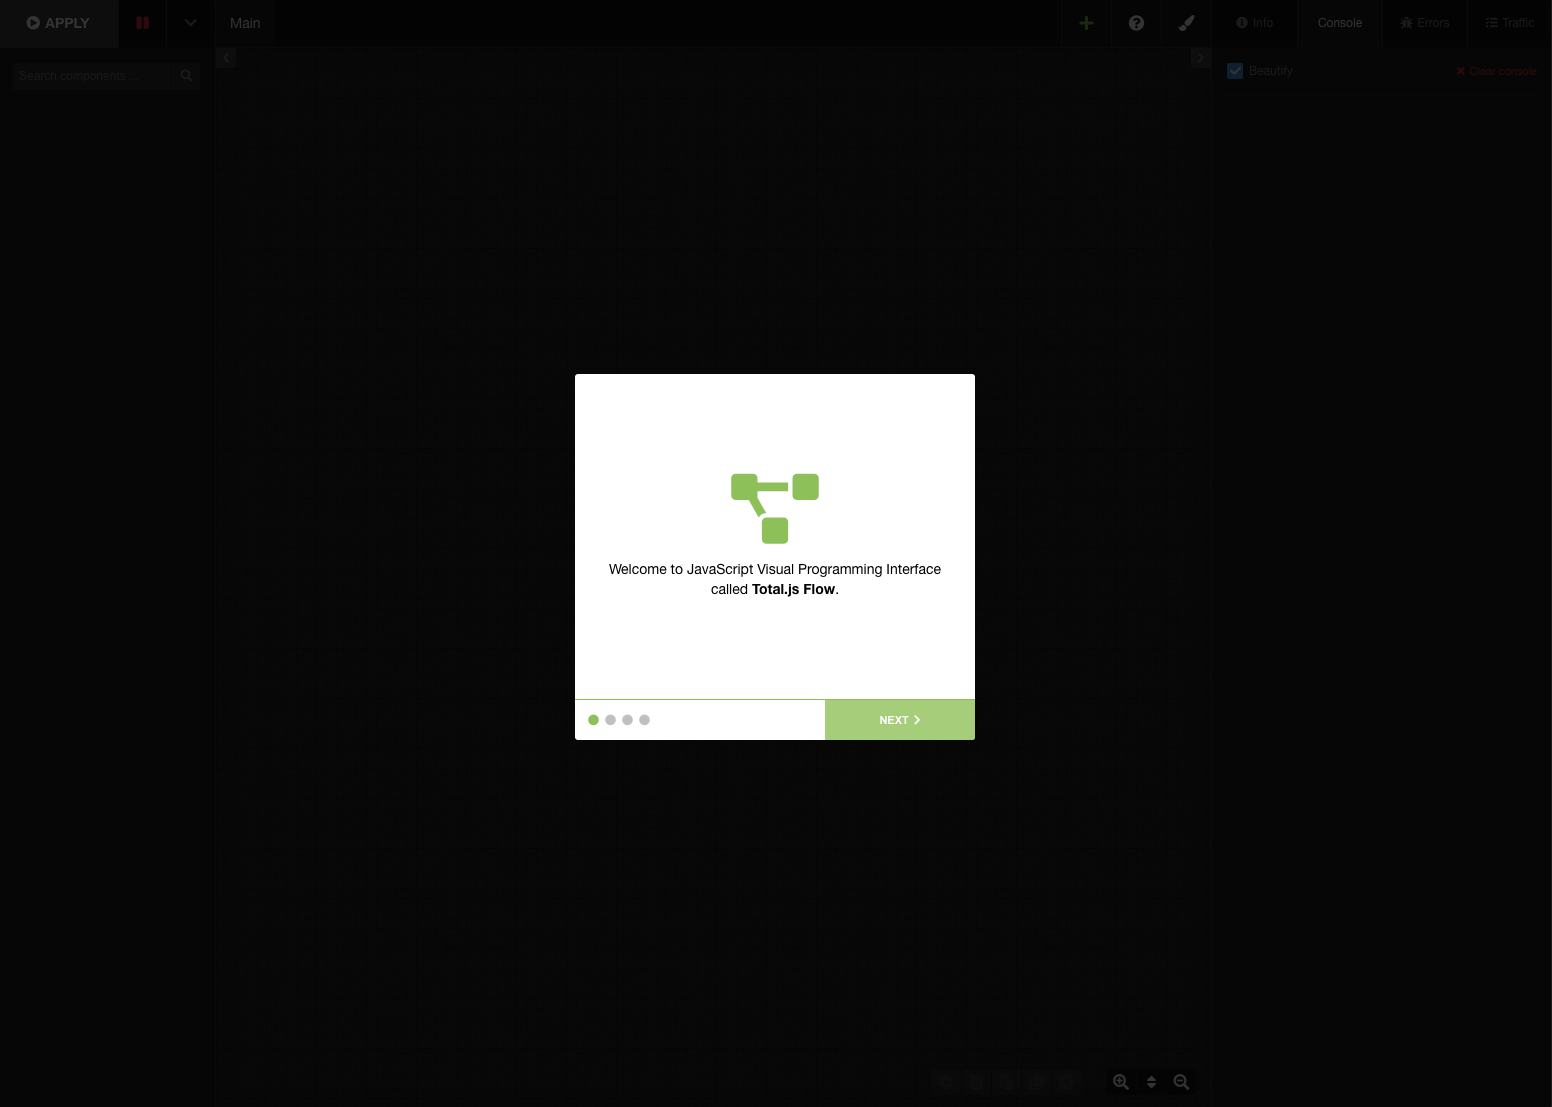
DONE! Your Flow is ready to use.
First, we need clone prepared empty project from GitHub https://github.com/totaljs/emptyproject-flow
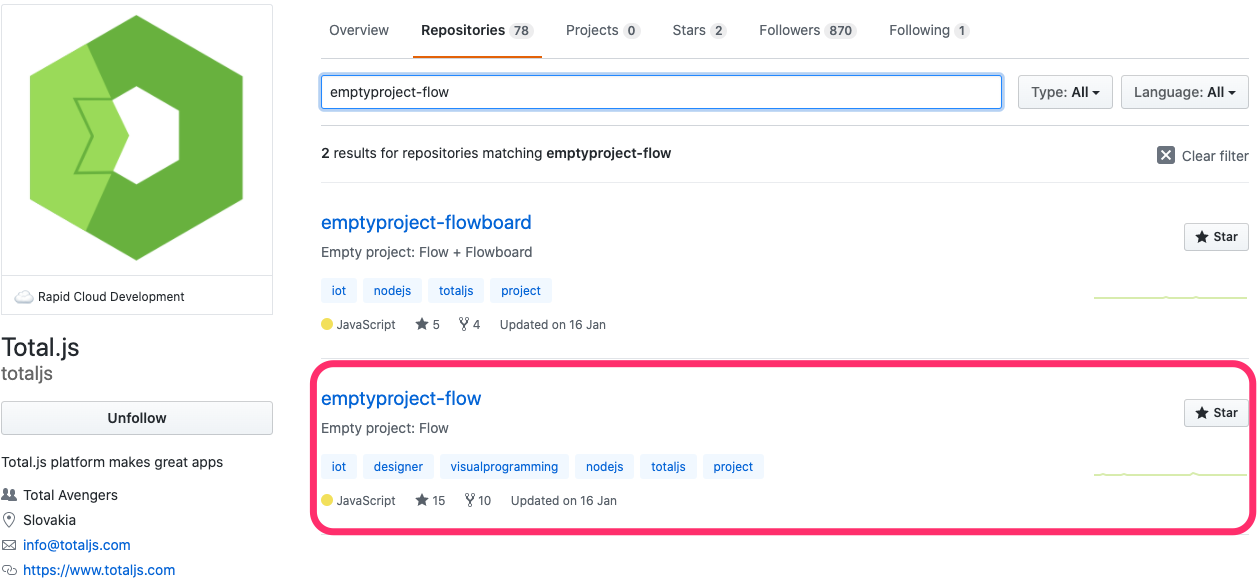
If you have downloaded/cloned your project locally, you need to install total.js framework from NPM.
Go to your project in terminal
Install Total.js framework from npm
Start Total.js Flow
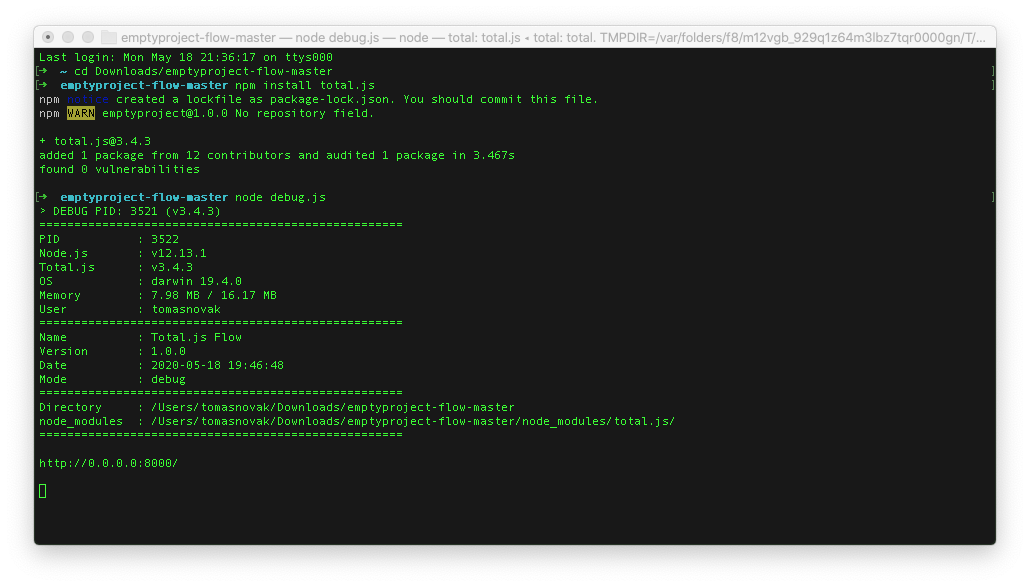
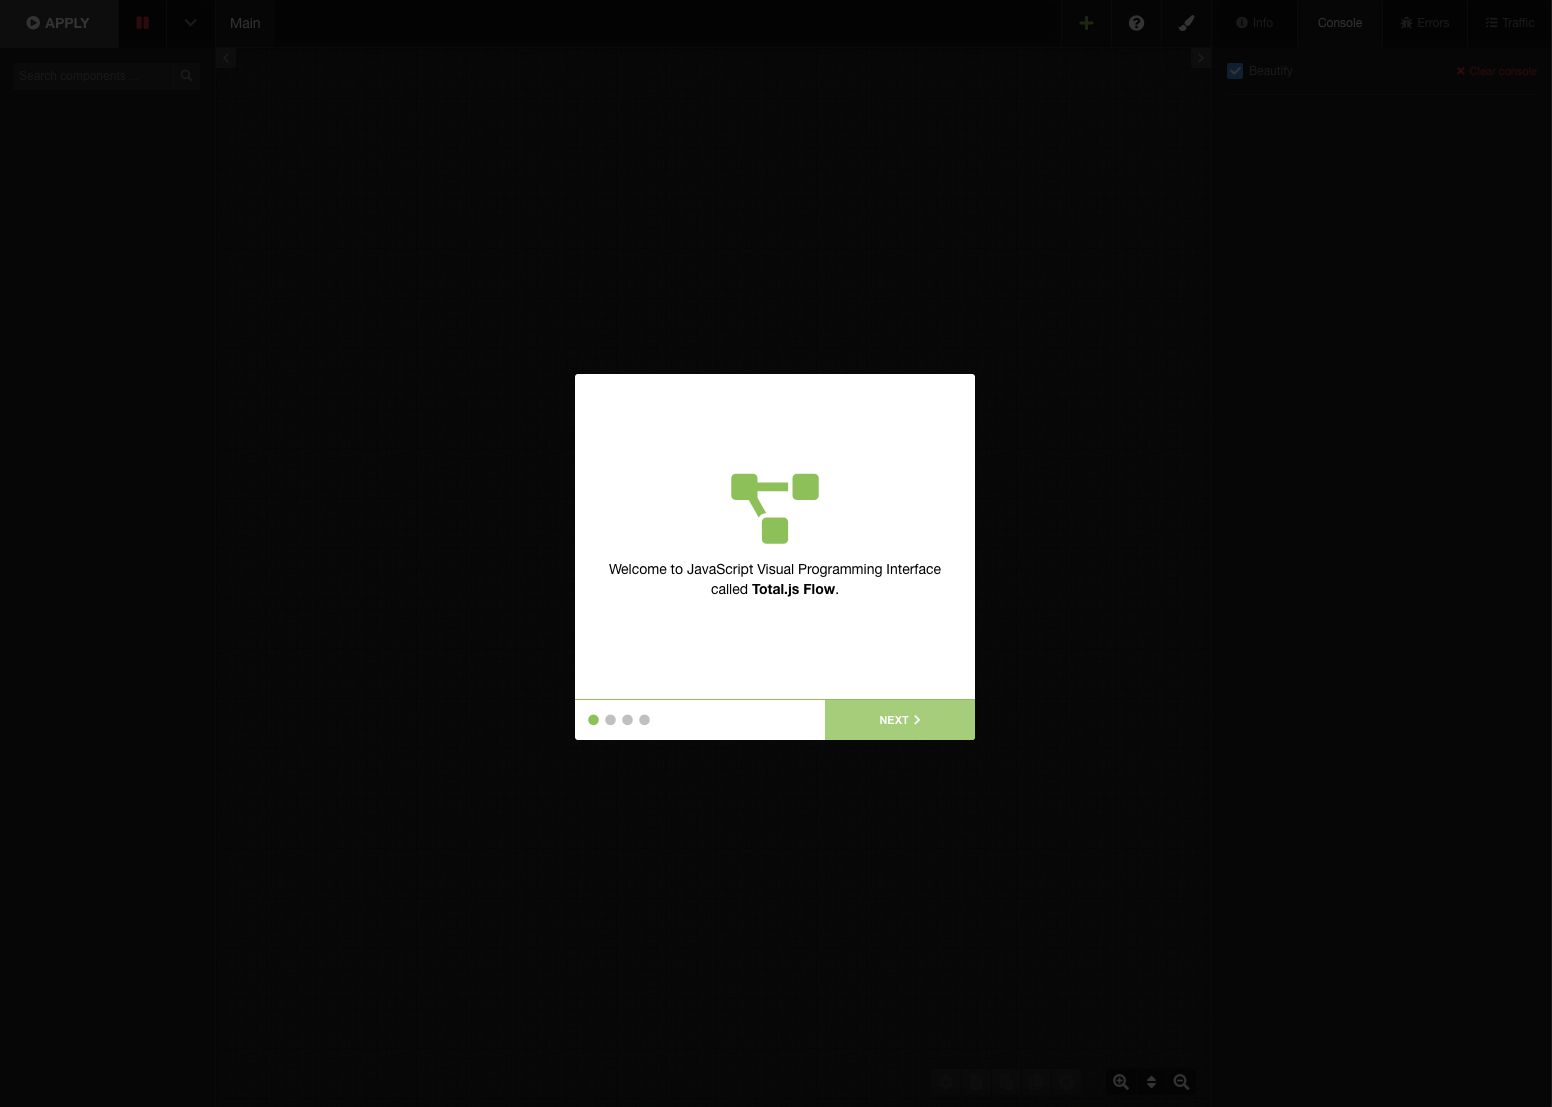
DONE! Go to your browser and visit http://127.0.0.1:8000
What's next?
Now, you have running Total.js Flow application and in next episodes I'll show you how you can install Components and Templates to your Total.js Flow.